Here is a wonderful example of strick rausch aka swing knitting.
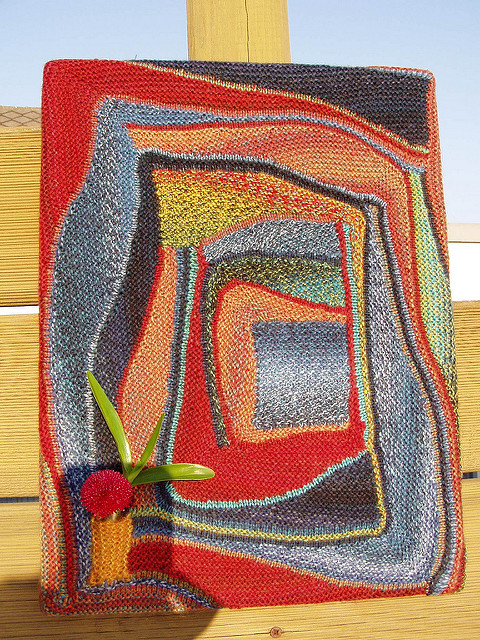
Made and shared by nordlicht500.


In addition to five-star patterns, I have a selection of ready-to-ship knits in my shop and I also take commissions from time to time.
My popular chicken hat is always a big hit. In fact, one of my customers keeps coming back for more, leaving this review: “sweet lady who’s very considerate and kind. Love my hat so much. Thank you!” 🐔


This site contains affiliate links. If you click through and make a purchase, I may earn a small commission – at no extra cost to you. I participate in affiliate advertising programs including the Amazon Services LLC Associates Program, and others. As an Amazon Associate I earn from qualifying purchases.
Affiliate partnerships help keep KnitHacker running and allow me to continue supporting independent designers around the world. In fact, over the years KnitHacker has generated over a million dollars in sales for indie designers – something I’m incredibly proud of. Thank you for your support!
