
Making your own homemade blanket can be a fun activity. Read on, these tips will help equip you with the relevant knowledge you need to get started immediately.
Before beginning you’ll require the following knitting skills:
- Knit stitch
- Weaving on ends
- Cast on and cast off
You can use resources such as YouTube and Google to help teach you the skills you need. Advanced knitting pattern techniques can be quite difficult to pull off if you’re a beginner. But, with enough practice, you can grasp these techniques with ease.
Blanket Knitting Tips
- Edging: Sometimes most edges of the blanket will be exposed. To fix this, slip every beginning and ending stitches in a row. Another option would be to add borders after casting off.
- Knit Flat: When you knit flat, you help determine the outcome of the patterns stitched. This makes it easier to spot common stitching errors as you work on the blanket.
- Garter Stitches: This is an easy to learn stitching technique with many uses when it comes to knitting blankets. It’s funky and relatively fast to finish.
TIP #1 How to Knit a Hand Knitted Throw Blanket at Home
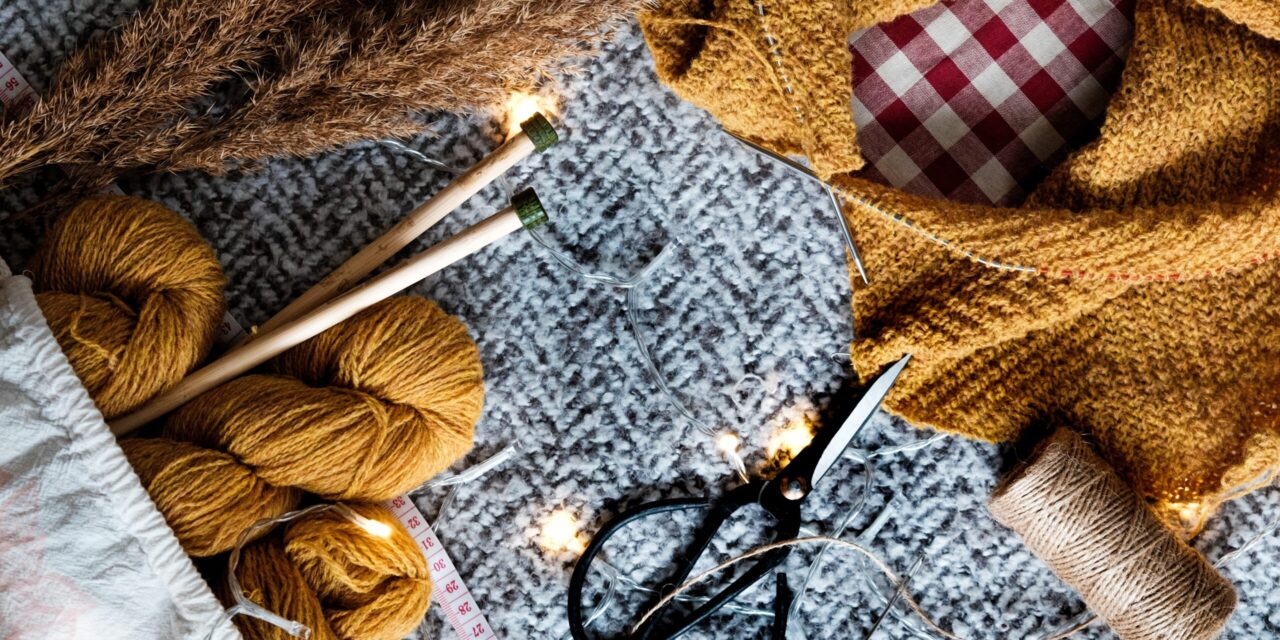
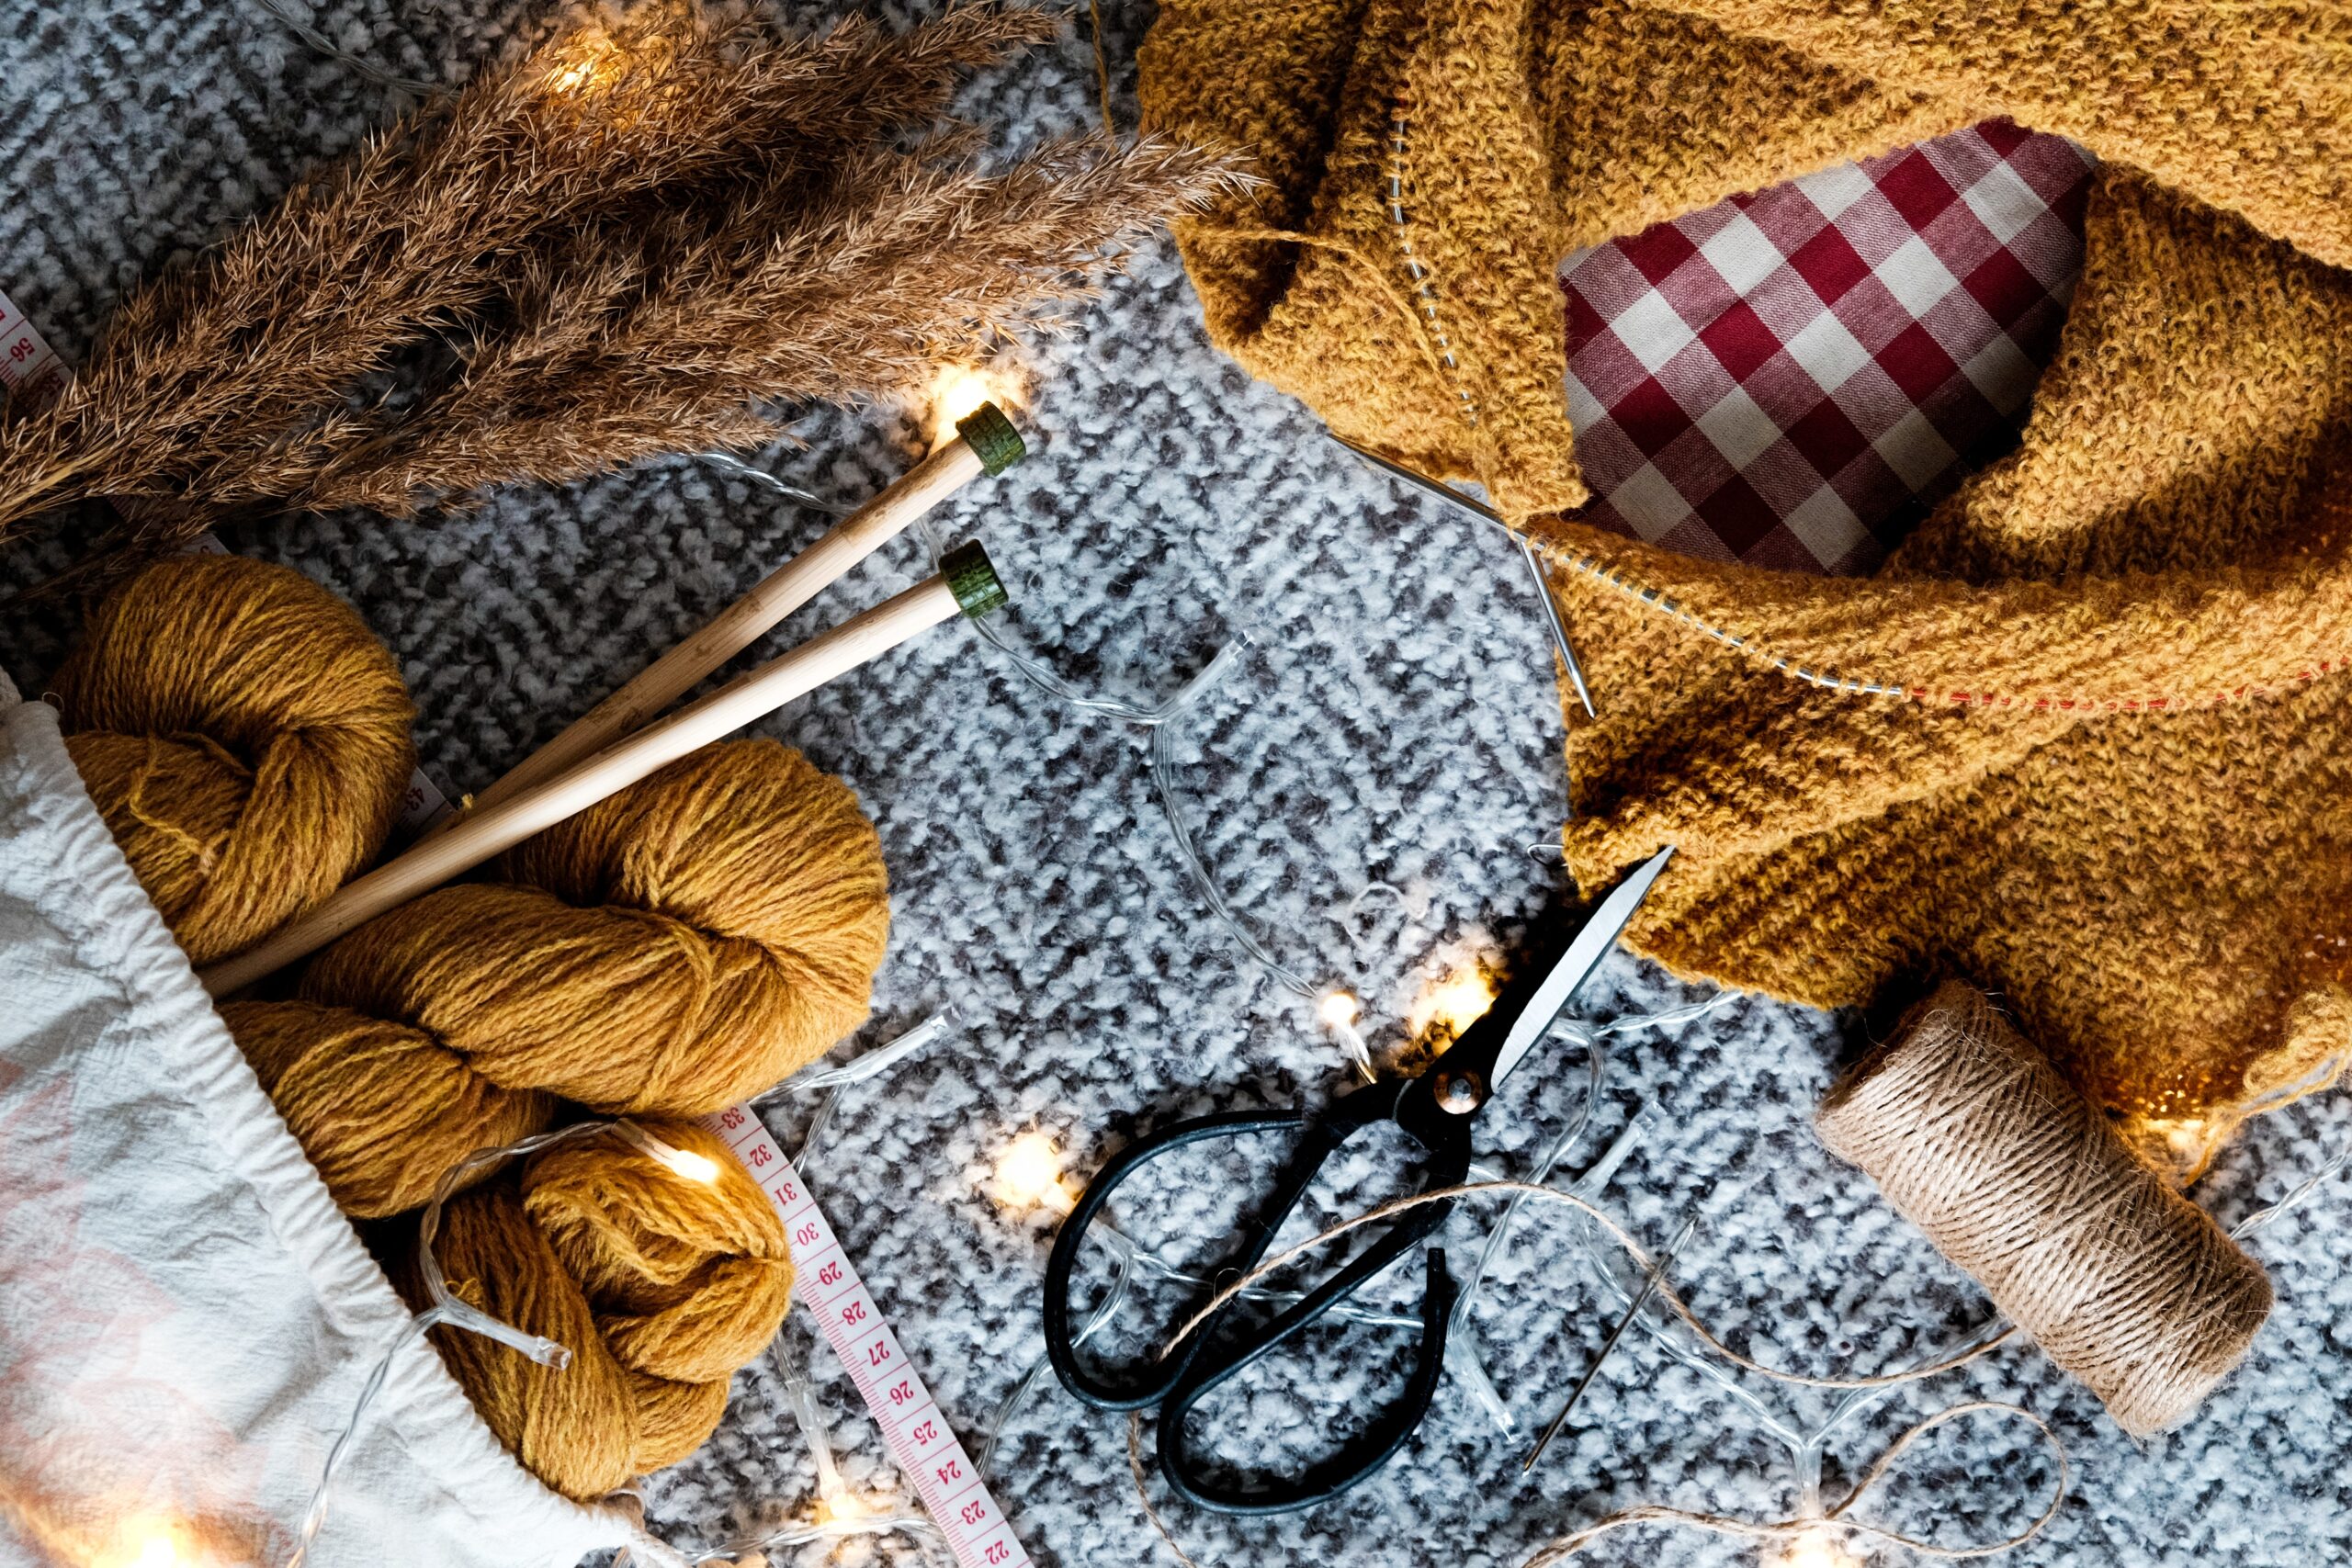
This DIY project only takes one hour to complete at the comfort of your home. It’s a fun-sized project for all to work on especially those without prior experience. Bear in mind that the width of the blanket is determined by the amount of wool used. Merino wool is comfortable and easy to knit. Here’s what you need to get yourself started.
What you’ll need:
- Merino wool
- A surface to work on
- Your hands
Procedure:
- Start by unraveling a sufficient amount of merino wool which you’ll use to knit with. You can estimate based on judgment to find the right amount that will work effectively without breaking while being tagged and pulled as you knit.
- Now, create a cast by making a loop at the end of the wool. This is done by placing one part of the wool over the end. Fit your hand within the loop, grab the working wool, and pull it right through the loop. You’ve now made a slip knot stitch. Hurray!
- You’ll proceed to make another stitch. To do this fit your hand through the first knot, and pull the working wool through it. Depending on how loose you want the blanket to be, ensure that the stitch loops you create aren’t too small. For a baby-sized blanket, you’ll need to create roughly 20 stitches across your first row.
- After creating your first row of 20 stitches, we’ll now proceed to the second. At the end of the last stitch, fit your hand through the loop and pull the working wool through it. Continue this process and gradually work left down the chain of other loops until you reach the end and repeat.
- Repeat the above instruction only that you’ll be moving right while interchanging on every row you’ll work on. Continue until you eventually run out of wool which may take some time. Ensure to take a break once in a while.
- The next step will require you to utilize a technique known as casting off. To do this, grab two stitches and your working wool in hand. Fit your hand through the two loops of the stitches and pass your wool through them. Now you would have created a single stitch made of two. Continue this process until you reach the end of the row.
- Finish up by creating a secure knot using the last stitch at the end of the row. Congratulations you did it! Now you can decide to spruce up the look by cutting any excess length or tuck away sticking out wool.
TIP #2: How to Knit a Basic Pattern Blanket
This is a basic outline of a blanket you’ll be creating. You can find many interesting patterns and inspirations online which you can add up to this blanket. Ready? Let’s get started right away.
What you’ll need:
- The wool of your preference
- A surface to work on
- Your hands
Procedure:
- Begin by determining the number of stitches to cast on via a pattern or by watching. Proceed to cast onto the stitches while being careful not to cast too tightly.
- Knit a foundation for the rows of the blanket. This is done by using stitches that don’t curl up such as garter or seed stitches. The first row will be the border of the blanket. Start by knitting a border at the beginning and end of the first row. Then gradually continue onto working on the body.
- If you’ve secured a pattern you like, begin to follow it up as you knit the body. Pay attention to the varying pattern, stripes, and color changes ensuring to emulate with the recommended colored yarn. When you finish the final border begins to cast off soon after. Select a flexible cast-off to prevent the final edge from being too tight.
- To round up, tie protruding ends together in knots. For a more secure adjustment, weave these ends into the blankets stitches to fasten them well. For the final effect, begin wetting the blanket with water and allowing it to dry (Blocking). This helps define the patterns and even out edges. Viola! You’ve created your very own basic patterned blanket.
Conclusion
With efficient practice you too can enjoy your own homemade blankets and quilt from the comfort of your living room. They make great decorations on top of a mattress or draped on your sofa. Remember to keep on working and don’t give up when things seem tough.
This post contains sponsored content.


