


I Used Craftables Heat Transfer Vinyl To Embellish a Pillow Case With a Crochet Doily and You Can Too!

![]()
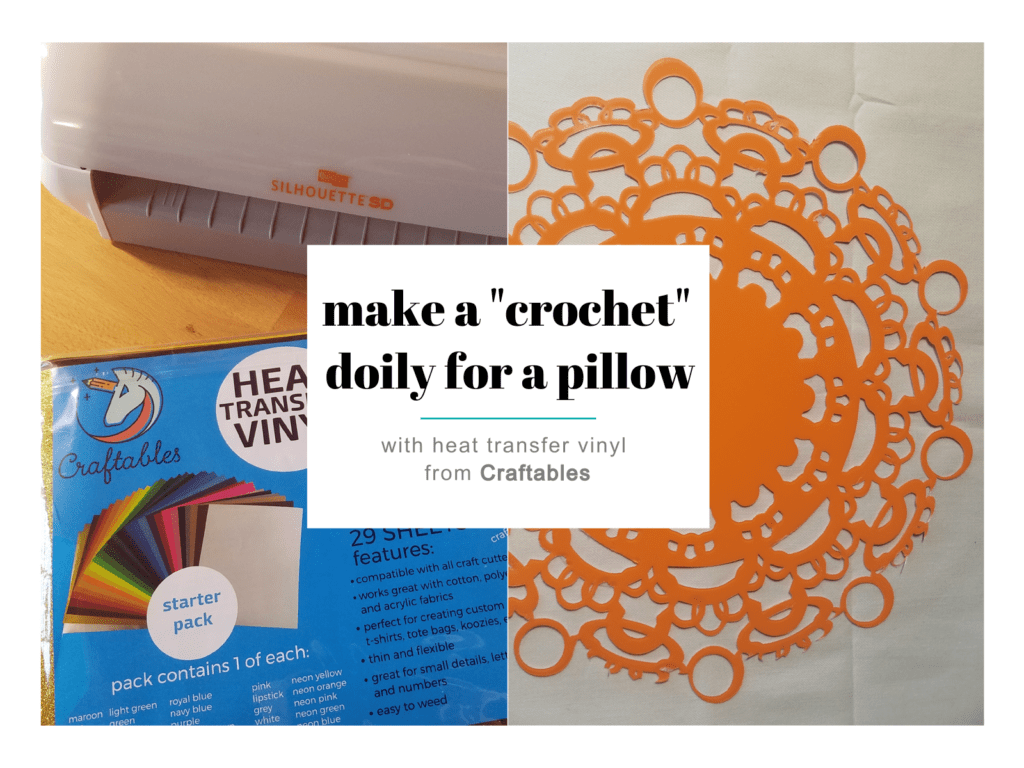
I have worked with heat transfer paper in the past and have even had to find the best heat transfer paper for dark shirts for one of the projects I did last year but I’ve never worked with vinyl. I didn’t know the difference between them so I had to do some research because recently I was given the opportunity to try Heat Transfer Vinyl from Craftables to embellish a pillow case with a design of my choosing. Since this is a knitting and crochet blog, I decided on a classic crochet doily on a pillow case for my design. I chose this challenging design for a couple reasons, first and foremost I thought a doily design would look nice in my house and second, I wanted to put this vinyl to the test and I’m happy to report that it really made the grade!
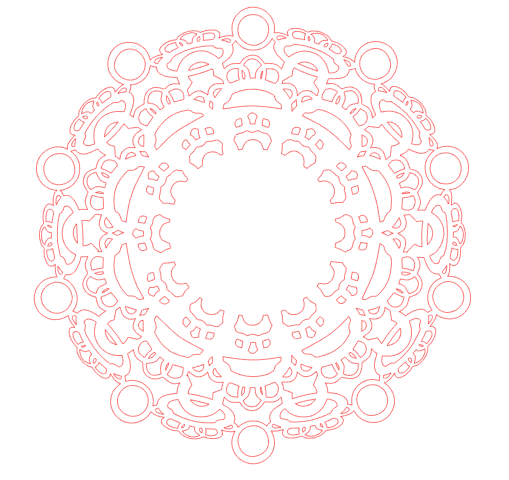
Below you’ll find the doily design I chose. I use a Silhouette for cutting — which I love — and their graphic library boasts over 1000 crochet doily designs! You’ll also find hundreds of craft-themed images encompassing knitting, crochet, and yarn … mmmm, yarn.
Let me walk you through my steps.
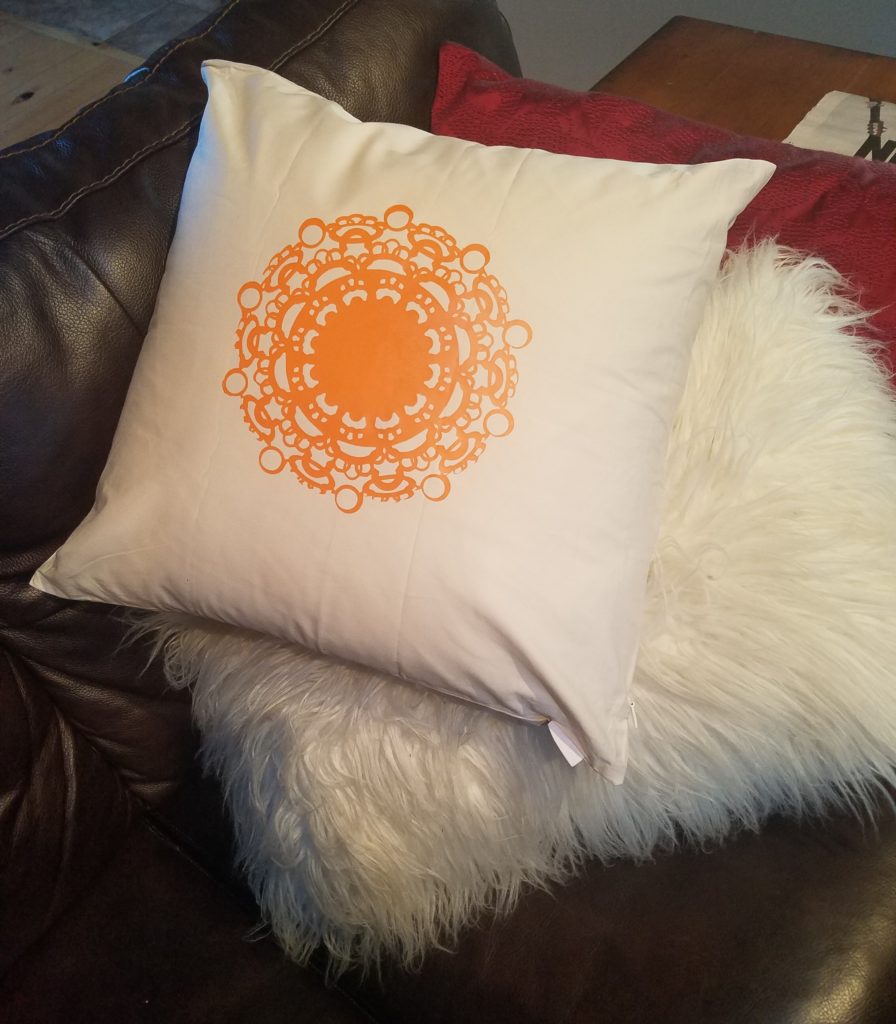
1) Pick a design, here’s mine:
2) Organize your tools and materials, including Heat Transfer Vinyl from Craftables, of course!

3) Set up your cutter. For this project, I physically set the blade to 10, and then, via my Silhouette dashboard, I chose Heat Transfer Vinyl “Smooth” for material with the cutting speed set to six, adjusted to 33 for thickness. I usually pick “double cut” when working with vinyl but because this piece is so delicate and the vinyl cuts so well, I was able to make it without checking this option. Please note that I use a cutting mat. If you prefer not to, you can use the reflective heat transfer vinyl setting. While we are on the topic of my cutter, I have been thinking about getting a new vinyl cutter machine. I have been reading some online reviews and a few different makes and models have caught my eye. Feel free to share any vinyl cutter recommendations with me as I would love to take a look!
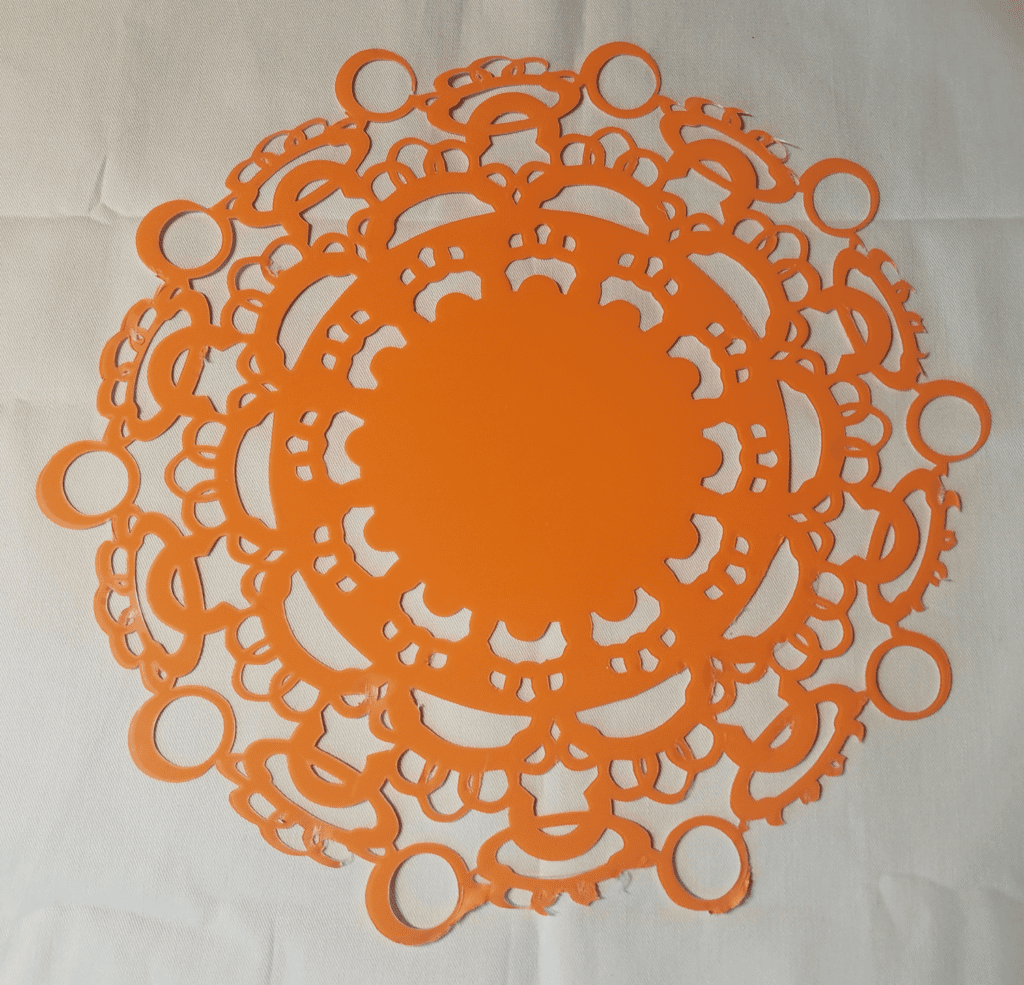
4) You’re ready to send your design to the cutter!

5) Once it’s cut, spend some time inspecting the cuts and punching out the areas that are meant to be empty space. I often use a precision cutter with a ceramic blade for this step – it helps prevent tears and ensures the smoothest lines possible.
6) Next step, you’re ready to iron your design onto your chosen fabric. Be sure to set your iron to the warmest setting available. You don’t need a teflon sheet between the iron and the vinyl, I actually used a sheet of parchment paper and that worked great. Apply heat for 12 seconds with firm pressure to each section of the design and then once you’ve applied heat everywhere, wait for at least 15 seconds before slowly removing the carrier sheet.


7) Next step, put the case on the pillow and find a great spot for it!
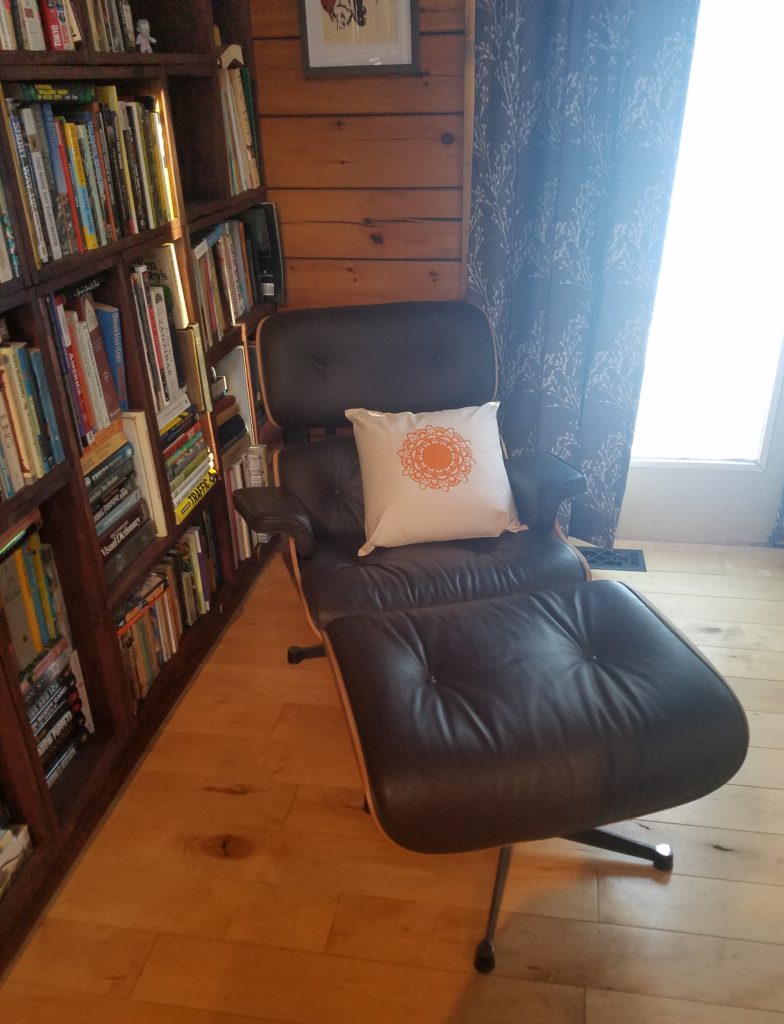


Looks great!
![]()
I was really happy with the quality of Heat Transfer Vinyl from Craftables and I can’t wait to load up my next project!.
* This post contains sponsored content.


